Cleaning the fans
The fan may only be removed and cleaned if the inverter is switched off. Otherwise, the fan may start up.
- Turn the DC switch on the inverter to OFF.
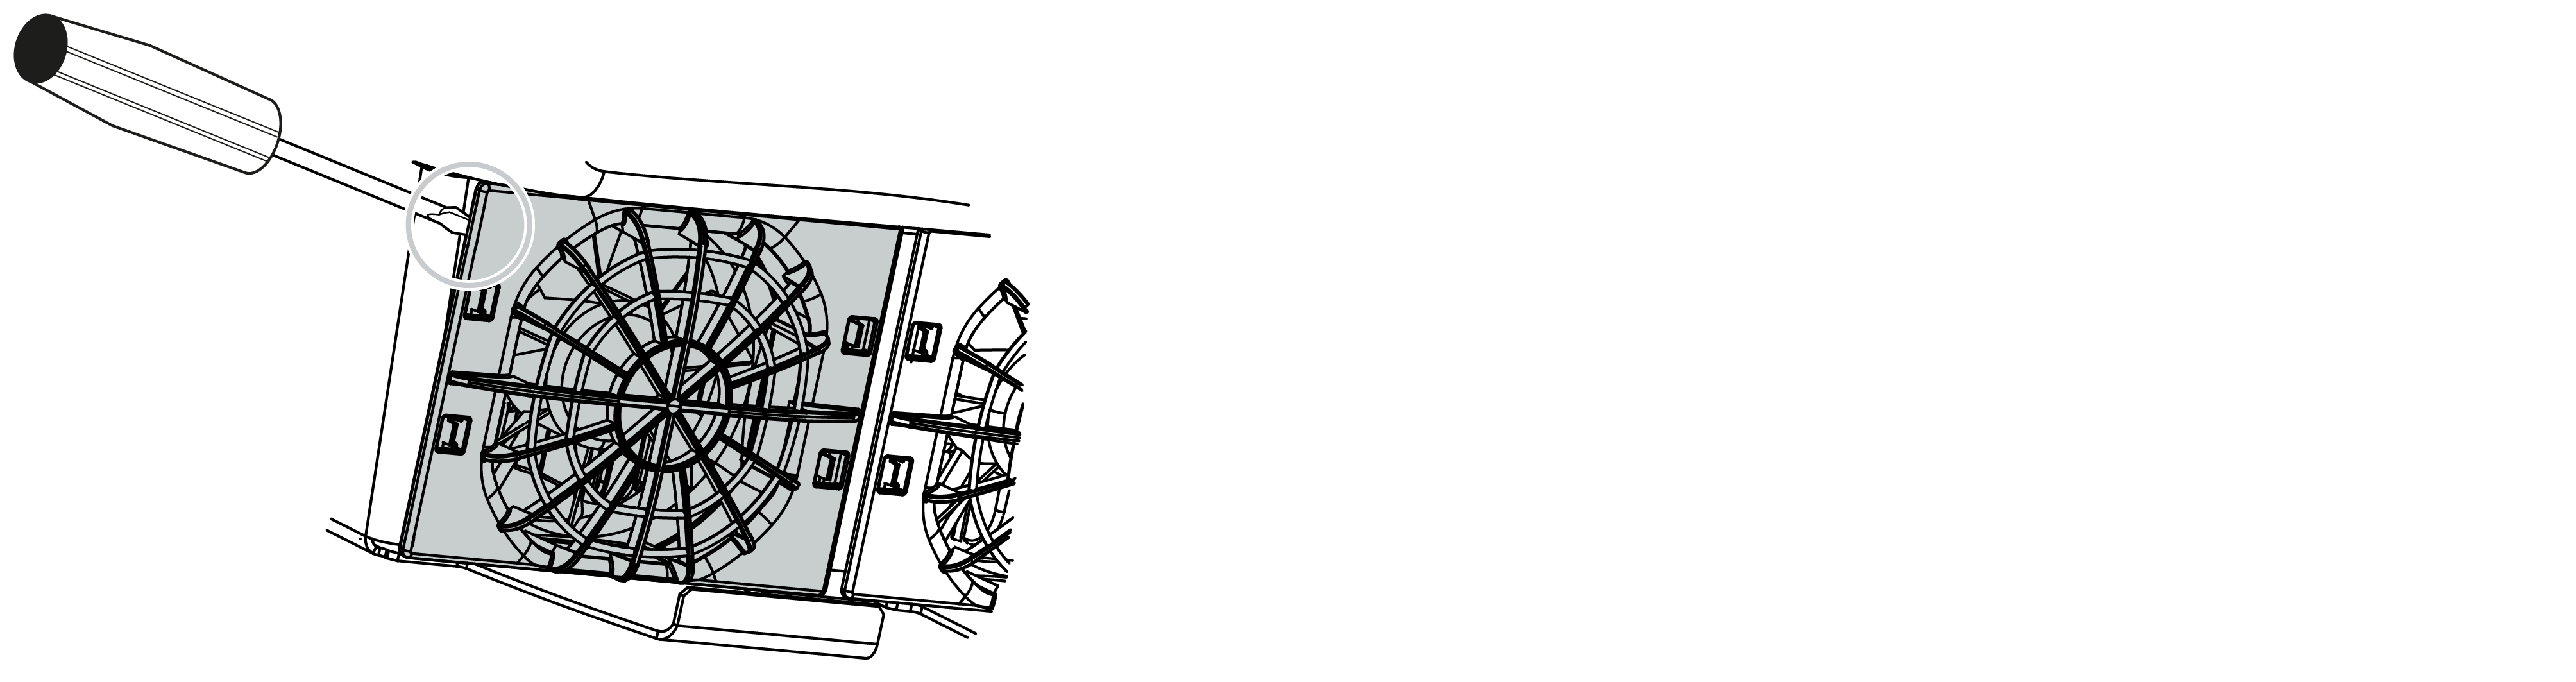
- Remove the fan. To do this, place a screwdriver at the edge of the fan grille and apply a little pressure to the fan grille.
- With a second screwdriver, press the fastening straps toward the centre of the fan. Pull the fan unit slightly forward.
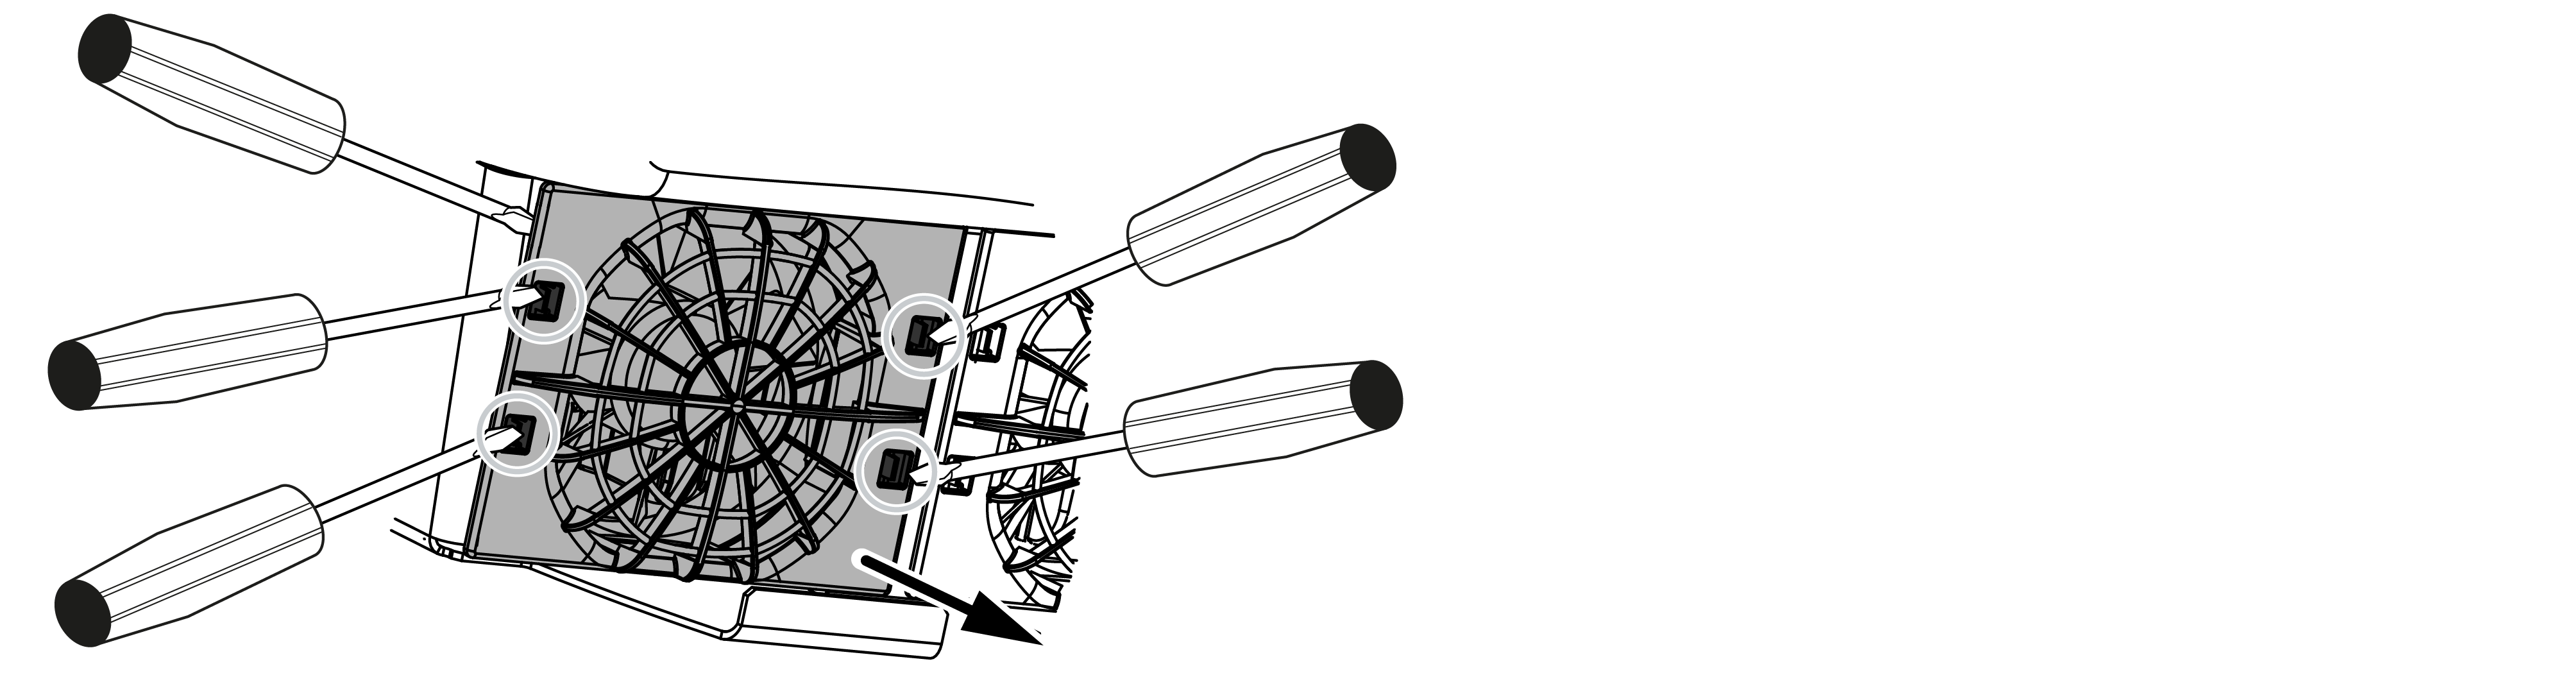
- Completely remove the fan unit from the housing. To do this, disconnect the plug of the fan cable.
IMPORTANT INFORMATION

Note how the cable is routed inside the housing. When installing the fan, the fan cable must be relaid in exactly the same way.
- The fan can also be pulled off the fan grille. To do this, press the fastening straps slightly outward and pull off the fan.

- Clean fan and housing opening with a soft brush.
- Note the following when installing the fan:
- The fan has been correctly installed in the fan frame (air flow direction).
- The cable points into the housing.
- The cable of the fan is not pinched. IMPORTANT INFORMATION
When installing the fan ensure that the cables are laid so that they do not run into the fan. If this is not done, the fan may fail or noise may result.
- Reconnect the fan cable and insert the fan into the housing. When switching on for the first time, check whether the air from the fan is drawn inwards.
- Switch the inverter back on again.
- The fan has been cleaned.