Initial commissioning via display
Initial commissioning is carried out via the inverter display. The data is entered on the inverter.
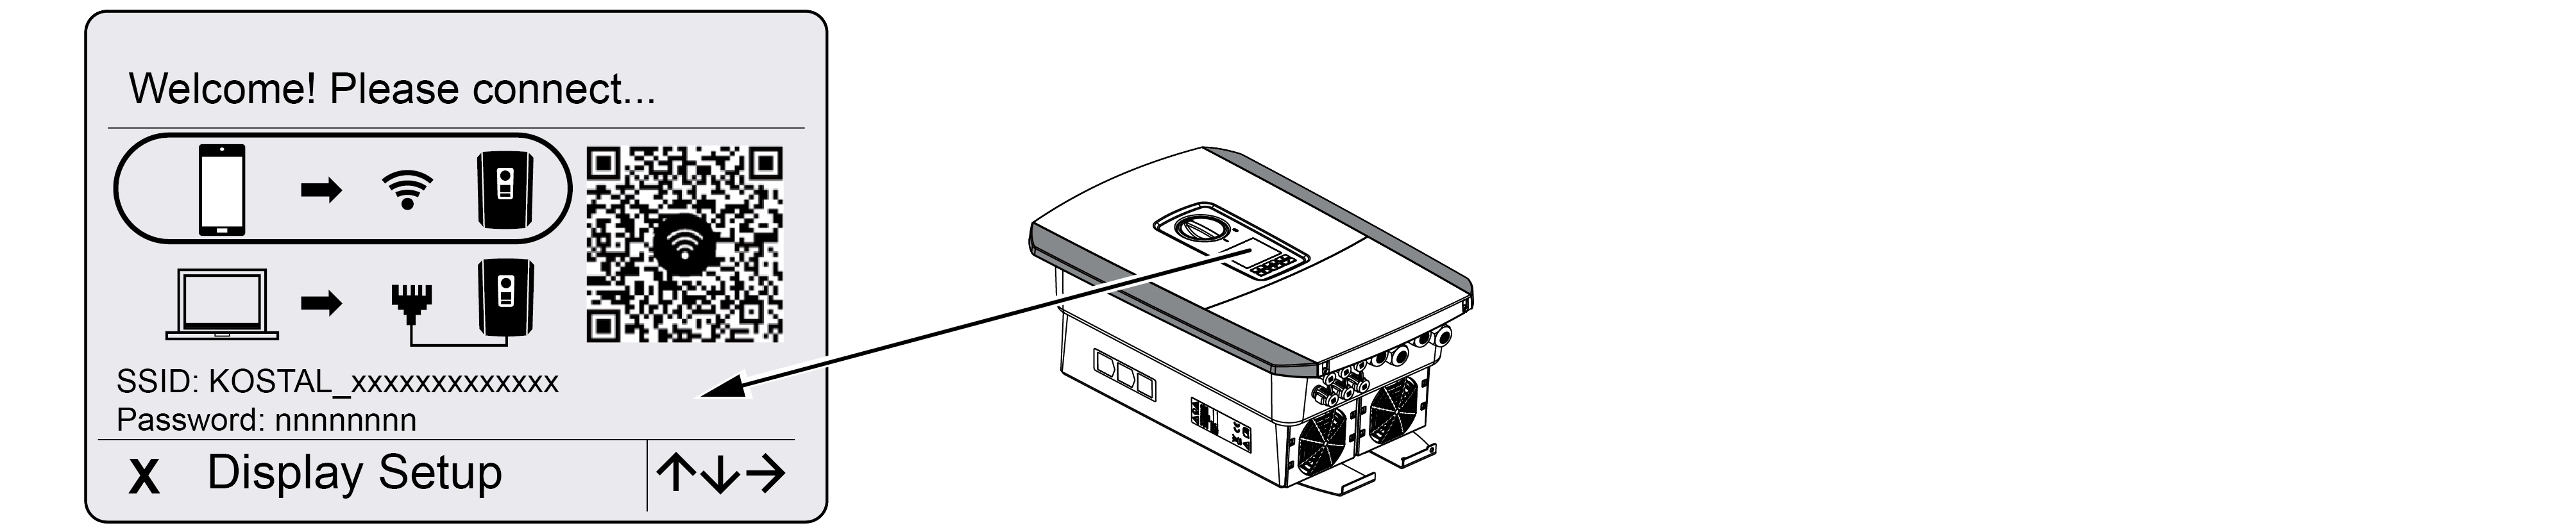
- Press X on the inverter to start the installation via the display.
- The Language menu is displayed.
- Select the language using the arrow keys and confirm with ENTER.
- Press the right arrow key to go to the next installation item.
- The Additional Options menu appears on the display.
INFO

This item can be used to enable options by entering an activation code in the inverter. The activation code, e.g. for connecting a battery to DC input 3 on the inverter, can be purchased from our online shop.
INFO
The currently activated additional options are displayed under Activated Options.
- SelectActivate option and confirm with ENTER.
- Enter the code you previously purchased at KOSTAL Solar Webshop.
- Confirm your entry with √ at the end.
- Press the right arrow key to go to the next installation item.
- The Date and Time menu is displayed.
- Select the time zone and set the date/time or have it determined automatically and confirm with ENTER.
INFO
Entering the date and time ensures that the downloaded log data is assigned the correct time.
- Press the right arrow key to go to the next installation item.
- The Power Connection menu is displayed.
- Use the arrow keys to select the appropriate menu item and confirm with ENTER.
- Use the arrow keys to select the Energy meter field and press ENTER . Select the installed energy meter from the list and confirm with ENTER .
- Press the right arrow key to call up the next installation point.
- The Battery settings menu is displayed.
- Use the arrow keys to select the battery type and press ENTER .
- Press the right arrow key to go to the next installation item.
- The Solar Portal menu appears on the display.
- Use the arrow keys to select the appropriate menu item.
- Press ENTER and select the Solar Portal you are using, then confirm with ENTER.
- To activate the transfer, highlight the item and confirm with ENTER.
- The transfer is activated.
- Press the right arrow key to go to the next installation item.
- The Modbus/SunSpec (TCP) menu is displayed.
- If you require the Modbus/SunSpec protocol via TCP, for example for external monitoring of the inverter, you can activate it here.
To activate the Modbus/SunSpec protocol, highlight the item and confirm with ENTER. - Press the right arrow key to go to the next installation item.
- The Updates menu appears on the display.
- Select the update method for installing future software updates on the inverter and confirm with ENTER.
INFO
You can choose between the system update methods Manual updates, Notify me of updates or Automatic updates. The Automatic updates method is recommended.
The Notify me of updates and Automatic updates system update methods require the inverter to be connected to the internet.
- Press the right arrow key to go to the next installation item.
- The Country/Policy menu appears on the display.
- Select the country or policy used and confirm with ENTER.
- Press the right arrow key to go to the next installation item.
- Apply settings appears on the display.
- Press ENTER to apply the settings.
INFO
If an incorrect country setting has been selected, it can be reset via the Country policy reset menu item on the inverter.
- The settings are applied by the inverter.
- After installation, the inverter may restart. The initial commissioning is now complete.
The inverter is now operational and can be used.
INFO
If a software update for the inverter is available, install it first.
The latest software update can be found in the download area for the product on our homepage at www.kostal-solar-electric.com
INFO
In France, the installer is responsible for obtaining and affixing the additional mandatory labelling required on the inverter and the supply cables.