Initial commissioning
Initial commissioning can be carried out via the KOSTAL Solar App, the web server or the inverter display .
The required activation codes are requested during initial commissioning.
Product upgrades can be activated using activation codes. This requires PLENTICOINs, which can be obtained from wholesalers, our KOSTAL Solar Webshop or directly via the KOSTAL Solar App.
INFO

The installation process may vary depending on the software version of the inverter.
Switch on the inverter
For initial commissioning, at least the minimum input voltage (UDCmin) must be present. The power must also be sufficient to cover the inverter's own consumption during initial commissioning.
- Connect the mains voltage via the circuit breaker.
- If available, switch on the battery system via the battery switch.
INFO
Further information on operation can be found in the operating instructions for the battery system.
- The battery system starts up.
- Switch the DC switch on the inverter to ON.
- If external DC disconnect points are available, switch on the DC strings one after the other.
- The installation wizard is shown on the display.
Initial commissioning via KOSTAL Solar App and setup wizard
A smartphone is required to input the data.
Initial commissioning is performed via the setup wizard in the KOSTAL Solar App.
The application is only available to installers. For this purpose, Pro mode must be activated in the KOSTAL Solar App.
Initial commissioning via KOSTAL Solar App and the setup wizard
Initial commissioning via the inverter Webserver
The inverter's integrated Webserver is used to carry out initial commissioning. An additional device, e.g. a PC or smartphone that accesses the Webserver, is required to enter the data.
To do this, the user must first select and set up the network connection via the inverter display before a connection is made via the input device.
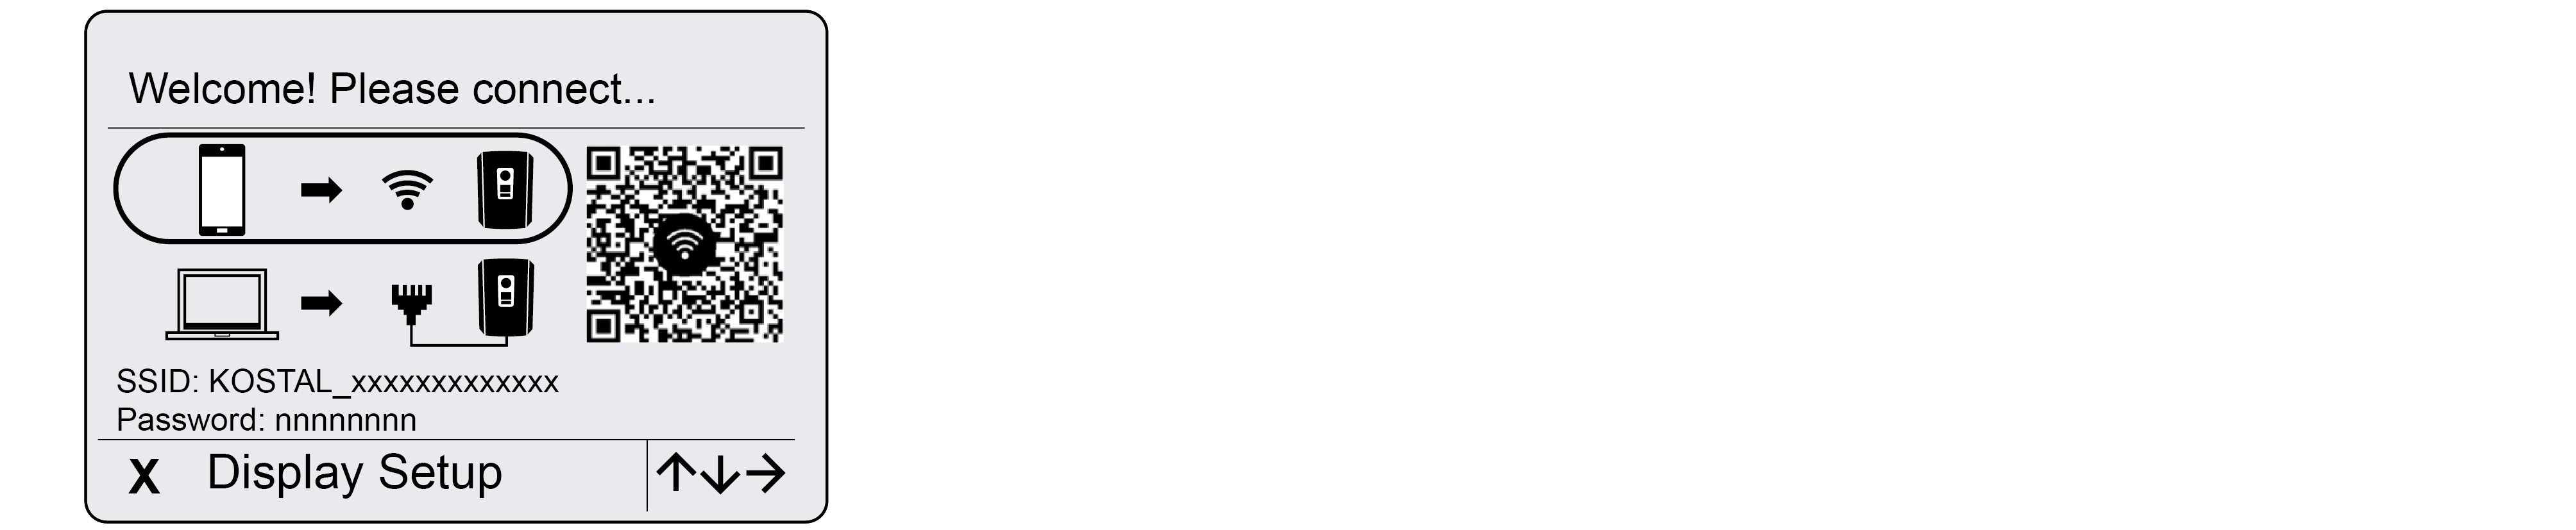
The potential connection methods are:
- Wifi access point: After switching on the inverter, it provides a Wifi access point. A connection to the inverter's Wifi access point can be established using a smartphone. The access data for this is shown as a QR code on the inverter's display.
- LAN: The inverter is connected to the local network via a LAN connection. The Webserver can then be accessed via a LAN-enabled device.
After selecting the connection method, the inverter's website is accessed and initial commissioning can be carried out.
Initial commissioning via the inverter display
The inverter display is used to carry out initial commissioning. Here, the data is entered on the inverter.